
UberMenu is the number one mega-menu plugin for WordPress with tens of thousands of sales. We’ve worked directly with its creator, SevenSpark, to custom develop a version of UberMenu just for Parallelus themes.
The Lite version included with our themes provides support for creating mega menus, multiple columns, titles, sub-titles, icons and responsive menus. For even more advanced features like adding photos and forms you can easily upgrade to the Pro plugin which our Runway-based themes have been designed to seamlessly integrate.
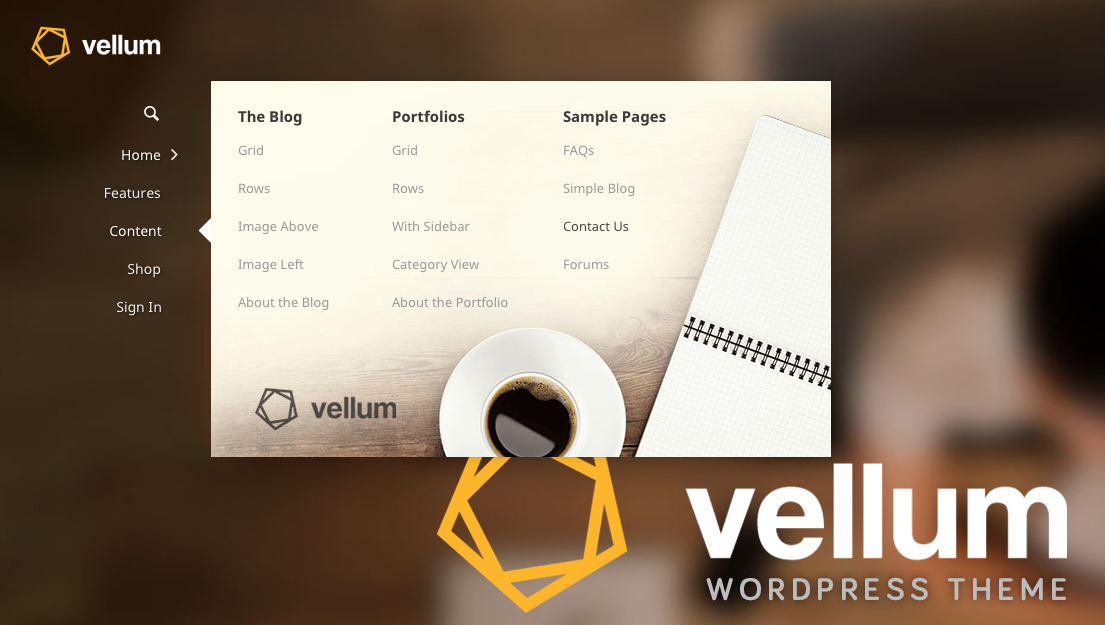
Something you can do without upgrading to the Pro version is add background images to submenus, and this article describes the technique we used to demonstrate this on the Vellum demo website.
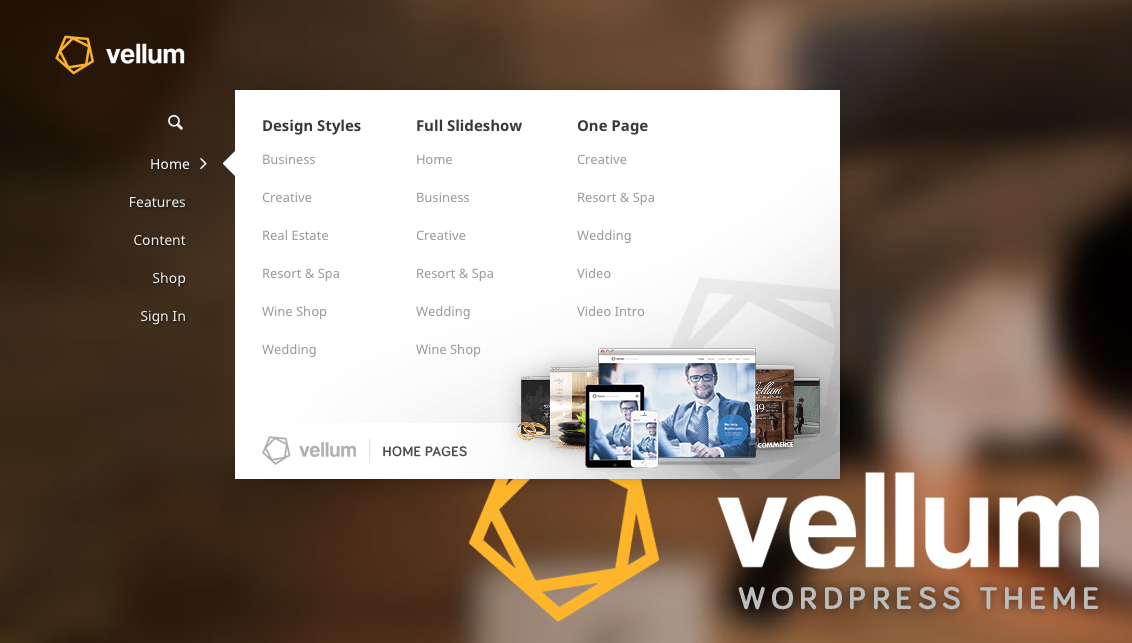
We think you will be surprised at how quick and simple it is to achieve an effect that will give your submenus a polished, professional appearance.
1. The image
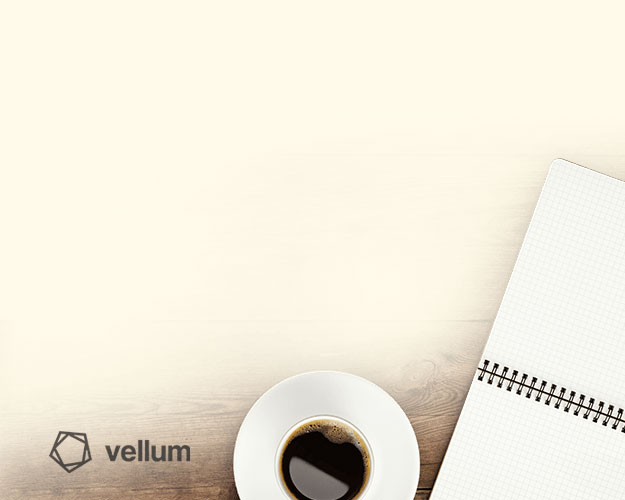
Once you’ve created the background image it needs to be uploaded to WordPress, so go to Media > Add New and take care of business.
 2. The menu item
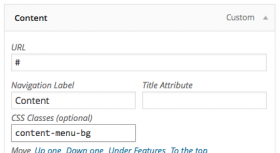
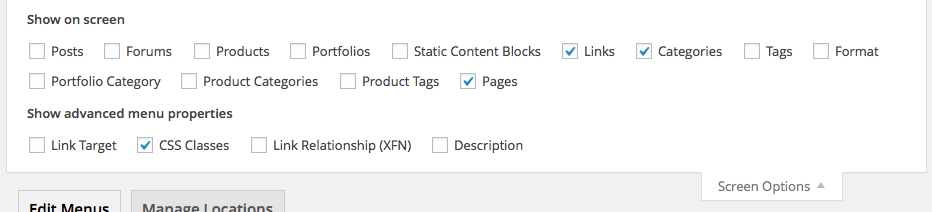
Next we need to assign a custom class to the top level menu item for the mega menu that will show the background graphic. To do this, in your admin go to Appearance > Menus and select the menu you want to edit.
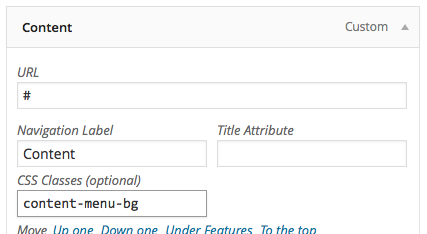
In the top level links, find the menu that you want to give a background image to its submenu. Expand that top level menu item to show its settings panel and in the CSS Classes input box enter a class name, such as content-menu-bg for example.
Once you have finished setting up your menu item, click the Save Menu button to apply the changes.
3. The CSS
Now that our background image and our menu item are prepared we can add some custom CSS that will bring the two together.
Go to Appearance > Theme Options and click on the Custom CSS tab.
Add the following CSS to your Custom CSS box, being sure to set the class name to the one you used for the menu item and the background image URL to the URL of your uploaded media file.
@media screen and (min-width: 960px) {
  /* Custom Mega Menu Backgrounds */
  .content-menu-bg > .ubermenu-submenu {
    padding-top: 0px !important;
    padding-right: 80px !important;
    padding-bottom: 120px !important;
    padding-left: 0px !important;
    width: 625px !important;
    background-image: url('/wp-content/uploads/image.jpg') !important;
    background-repeat: no-repeat !important;
    background-position: 100% 100% !important;
  }
}
In our example CSS above we are targeting the first submenu (> .ubermenu-submenu) of the top level menu item to which we gave the content-menu-bg class name. You can adjust the padding as needed to fit your background image into whatever space you have in the menu. Also, the width can be adjusted to whatever is best for your specific situation.
So that’s it! Save your changed theme options and take a look at your website to see the new submenu background image. You can do the same for any submenu, all you need to do is prepare a new image, give the top level menu a unique CSS class name, then copy-paste the CSS, adjusting it for the different class name and background image. ![]()
Acknowledgements
This tutorial is based on an original post in the Vellum support forum by Andy Wilkerson.
Resources
- Inspiration: Vellum demo site
- Support forum: http://para.llel.us/support/groups/vellum/forum/
- UberMenu: http://wpmegamenu.com/
