
A popular page design is to have a page header that is the actual WordPress page title on top of a coloured background or background image.
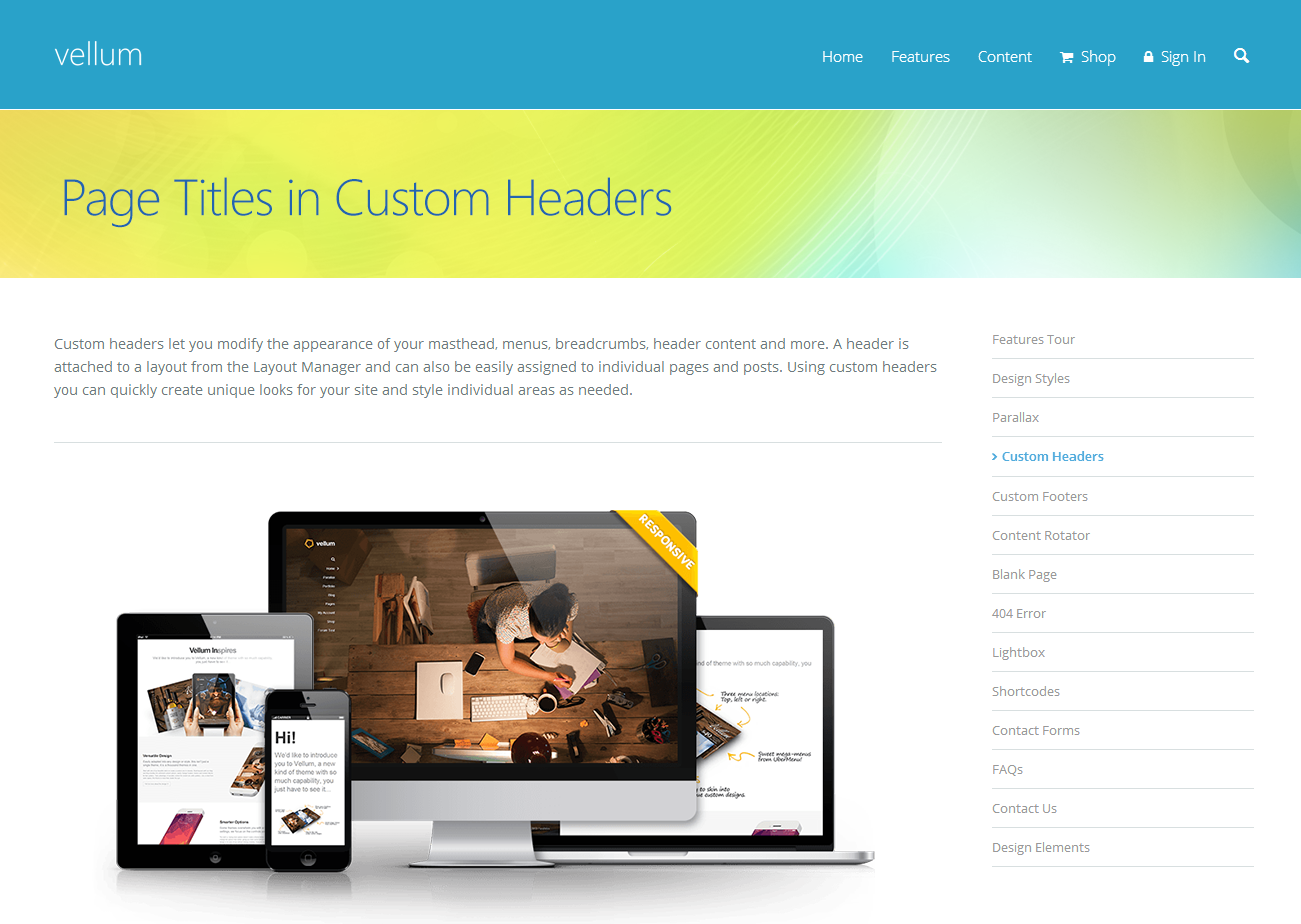
Using the theme’s Layout Manager and custom headers functionality this can be achieved very quickly. It requires the help of a special theme shortcode – [page_title] – and a little bit of creativity.
There are a couple of techniques to achieve the same result; later we’ll see how to do this directly in our article content, but first let’s look at how to do this with some static content.
The static content technique
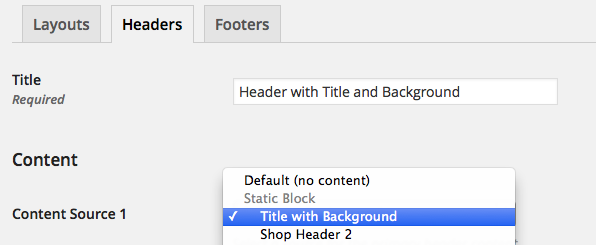
Go to the Static Content > Static Blocks and click the Add New button. Enter a title for your static block, something like “Title with Background” for example.
In the content editor select the Text tab and paste in the following HTML:
<div style="padding-top: 48px; padding-bottom: 48px">[page_title]</div>
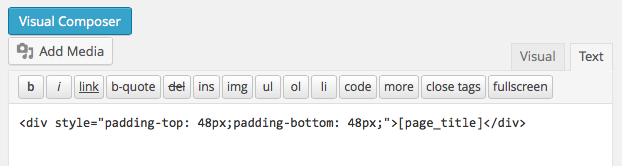
In the Content Options metabox set the Auto Paragraphs option to Off, then publish/update this static block.
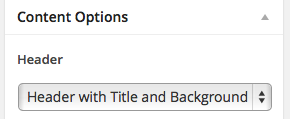
Scroll down that settings page to the options under the “Header Area” heading and give your header a background color, or a background image, or both if you like. Then click the Save Settings button.
That’s it, we’re all done, click the Update button to save the article, and then and view the result.
The article content technique
The alternate technique we are going to look at now is more suited to situations where you intend to change the background graphic for individual articles.
In the content area, using Visual Composer, click the Add Row button and begin with a full width, one column row. Click the big + inside this row to add an element, and add a Text Block element. For the content of this Text Block enter the [page_title] shortcode.


48px 0. Then scroll down to the Background Image option and click the little green + to choose a background image. After you have set the background image, scroll down a bit more and in the Extra class name box enter title-with-background. Click the Save button to save these settings and return to the article editor.
Back in the article editor, start a new row positioned beneath the first one. Hover over the row’s layout icon (above the row on the left) and set this row to the 2/3 + 1/3 column layout.

In the right-hand 1/3 column add the sidebar widgets you want from the Visual Composer selection of widget elements (they’re the ones that have the circular WordPress logo).
Alternatively you can add a Vellum sidebar directly into that column using the theme’s [sidebar] shortcode. To do this, add a Text Block element to the right-hand column and for its content enter [sidebar alias="blog"]. You can change “blog” to the alias of your desired sidebar. You can see the full list of these, or create new ones, in the Appearance > Sidebars area of the admin.
In the left-hand column, add your page content.
Lastly we need to make a small adjustment to take into account layouts that have padding above the content area. At top right of the editor area click the CSS button and enter the following style:
.title-with-background { margin-top: -48px; }
This style will prevent a gap with some layout styles between the header and the title background.
Okay, so that’s it, we’re finished. Click the Update button and view the result. ![]()
Acknowledgements
This tutorial is based on an original post in the Vellum support forum by Andy Wilkerson.
Resources
- Inspiration: Vellum demo site
- Support forum: http://para.llel.us/support/groups/vellum/forum/
